*Warranty and ownership information: The GPS tracking device is available for €0 when booked together with one of our service plans. This is not a rental model: After a minimum contract term and 12 months of uninterrupted use, the device automatically becomes your property at no additional cost. The unlimited hardware warranty applies for the entire service life of the device with Horizont under normal use (excluding wear parts such as batteries, damage caused by improper handling, and future network shutdowns resulting from external factors). See our Terms and Conditions.
We offer our products and services to private individuals and commercial customers. Trademarks and all product images are the property of their rightful owners and are used only for descriptive purposes.
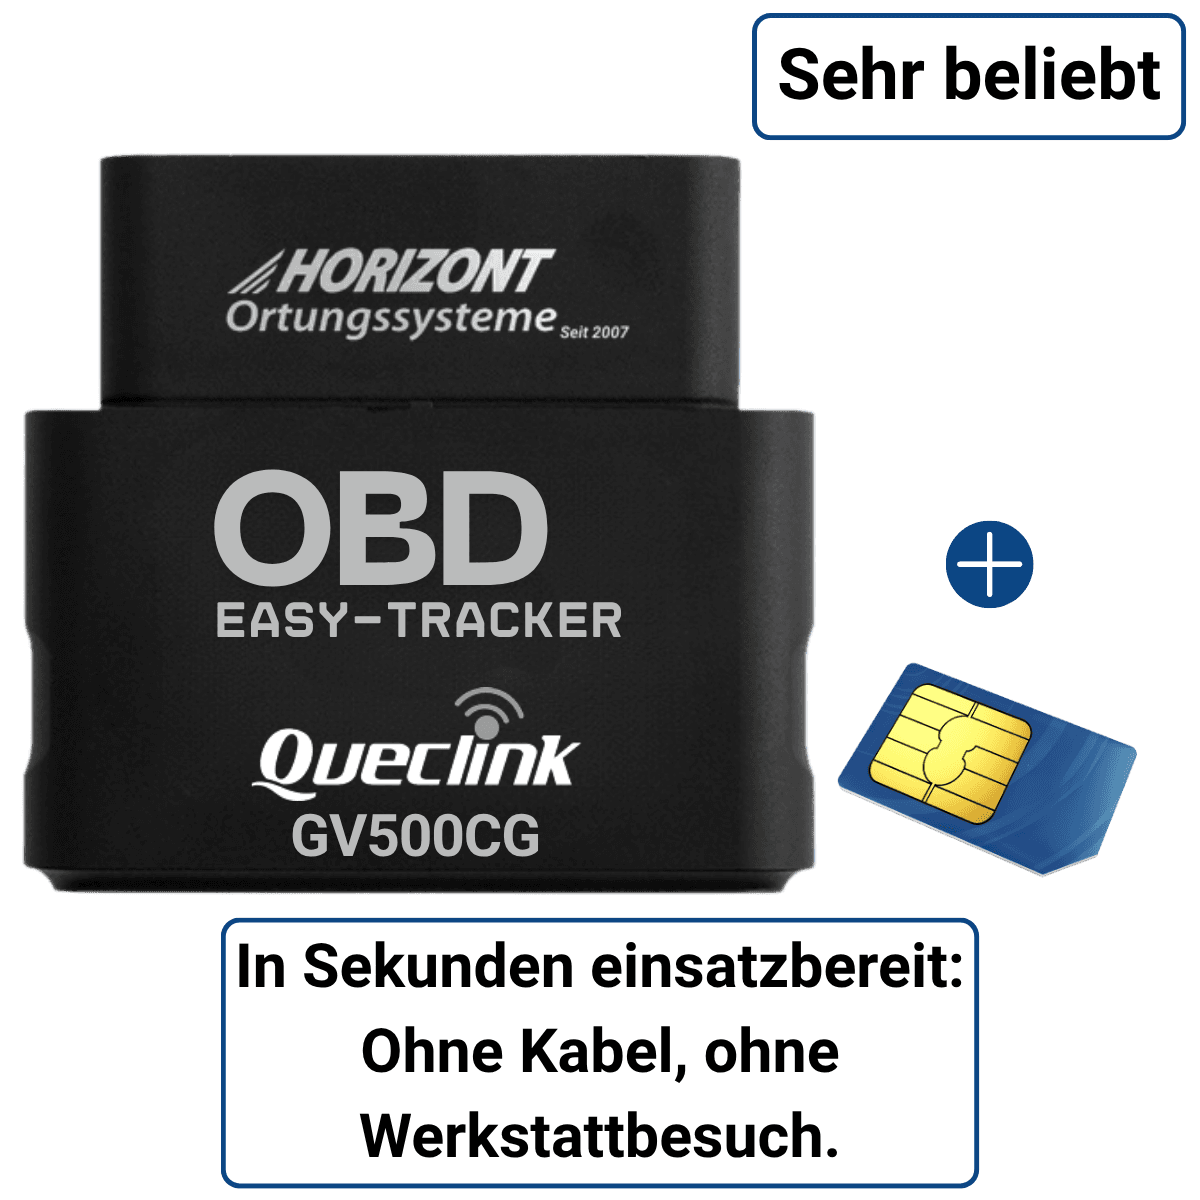
Due to technical improvements and ongoing development, the tracking devices shown may differ from the original product. We sell only products from renowned manufacturers in Germany, the Netherlands, Lithuania, and other countries. Devices are defined by their functionality, not by the manufacturer. If the ordered product does not meet your expectations, you naturally have a 30-day right of return.
Modern tracking solutions for small and large fleets. Sales and shipping across Europe and worldwide - call us! German quality - delivered quickly internationally!